

Cursive is my faaavorite language. It’s like letters are given permission to dance across paper, and the pen speaks an author’s voice through their unique style. Doesn’t matter who you are or how you write, your handwriting is irreplicable, and how you embrace it is your special art.
Calligraphy takes this art form to the next level. If cursive is writing for day to day conversation, then calligraphy is the big public speech. And don’t be fooled by the stereotypical script fonts you may find across the Internet; in this guide to beginner calligraphy handwriting, I’m going to show you here just how to make a style your own, and how to use this secret talent at any point in your life.
Not to mention, calligraphy has been recognized across the board as therapeutic for both stress and mental health, while its practice also enhances cognitive function and overall creativity. There’s a timeless magic to using our hands to create something, and a hidden thrill of accomplishing something new. I truly believe this is something for everyone to have fun with, especially if you’ve never played with it before.
One last important point to address: while popular calligraphy today may often be showcased in a feminine light, it should by no means be limited to that image. In fact, past presidents and all sorts of male historical figures have been renowned for their unique lettering and signatures; so again, this is for everyone to enjoy. Follow this guide, and your calligraphy and handwriting will grow from beginner to advanced in no time 🙂
5 basic steps to start calligraphy:
- Optional supplies
- Basic strokes
- Decoratory strokes
- Practice exercises
- Developing your style
1. Optional Supplies
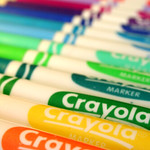
If you’ve heard me talk about calligraphy or art in general before, you know how strongly I feel about not needing fancy supplies! Accessibility is everything, so cost should never burden you from being creative. In fact, even after years of trying different tools, my favorite writing utensil to this day is the basic Crayola marker. Find whatever excites you!
For beginners, I recommend:
- Crayola or CraZ-Art Markers (I love both Classic and SuperTips)
- Ballpoint or Gel Pens (I love Pilot)
- PaperMate Flair Pens
- Sharpies (Regular, Paint, Metallic, all are great!)
- A blank, scratch paper notebook
- List of quotes or song lyrics to practice writing
For those looking to experiment more:
For added detailing or more dainty calligraphy:
- Gelli Roll White Gel Pen
- Uni POSCA White Paint Pens – thin, medium, thick
- Woodsworth & Black Fountain Pen
2. Basic Strokes
For marker/brush lettering: Holding your writing utensil correctly + controlling your pressure is all this comes down to. Light on the upstrokes, heavy on the downstrokes. When learning, pause between strokes and don’t rush to get to the end of a word. Hold your pen loosely, to give your wrist more freedom to move. Ultimately, you’re trying to give your letters dimension, and how heavily or extravagantly you choose to do that is up to you.
For faux pen-lligraphy: Write the word or sentence as you normally would. Go back over the word, giving each downstroke a shadow to emulate traditional calligraphy’s heavy pressure. You can choose to fill in the gap you’ve drawn, or leave it empty for its own special look.
Here’s a preview using the Crayola marker, Tombow Brush Pen, Sharpie, and Ballpoint Pen:

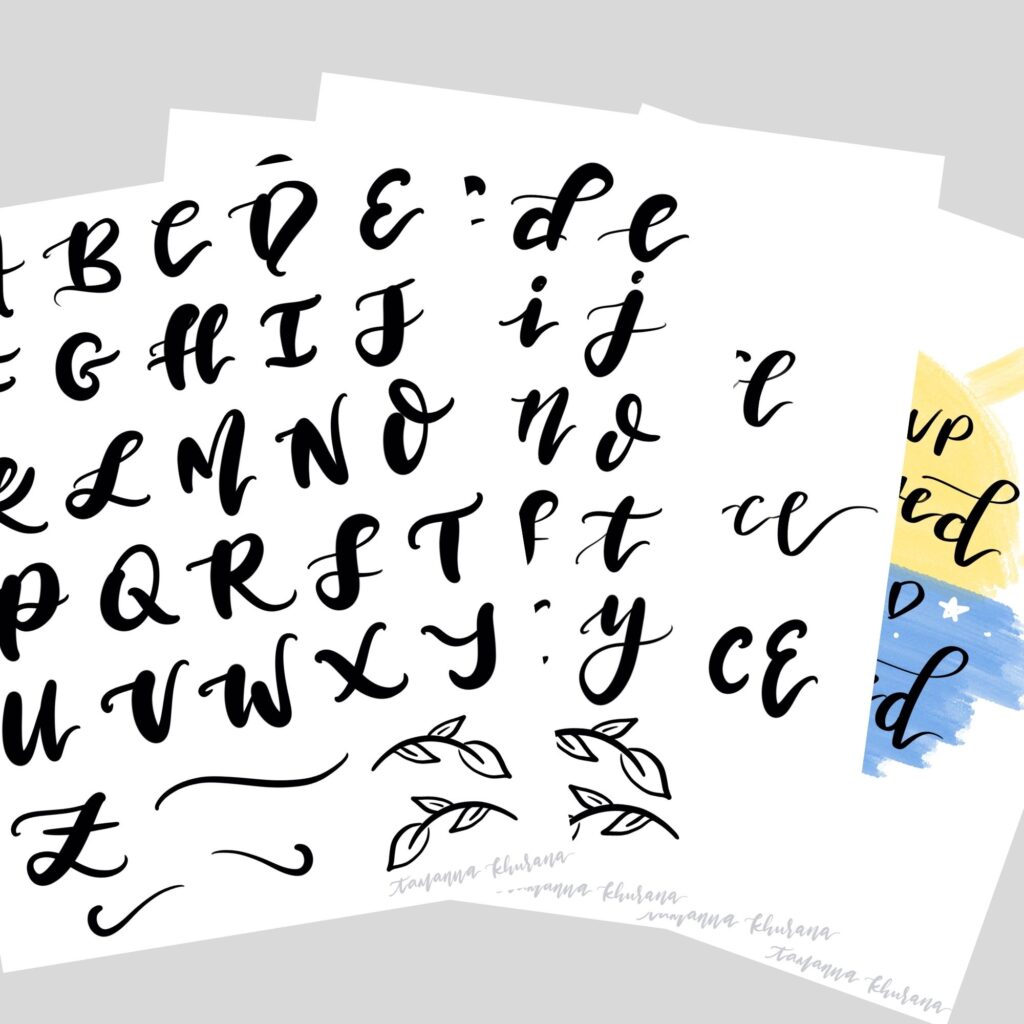
3. Decoratory Strokes
It’s allll about how your letters enter, exit, and dance at this party. Depending on the letter starting or ending the word, you can change up this stroke to best accentuate what’s being written.
Entrance & Exit strokes to experiment:
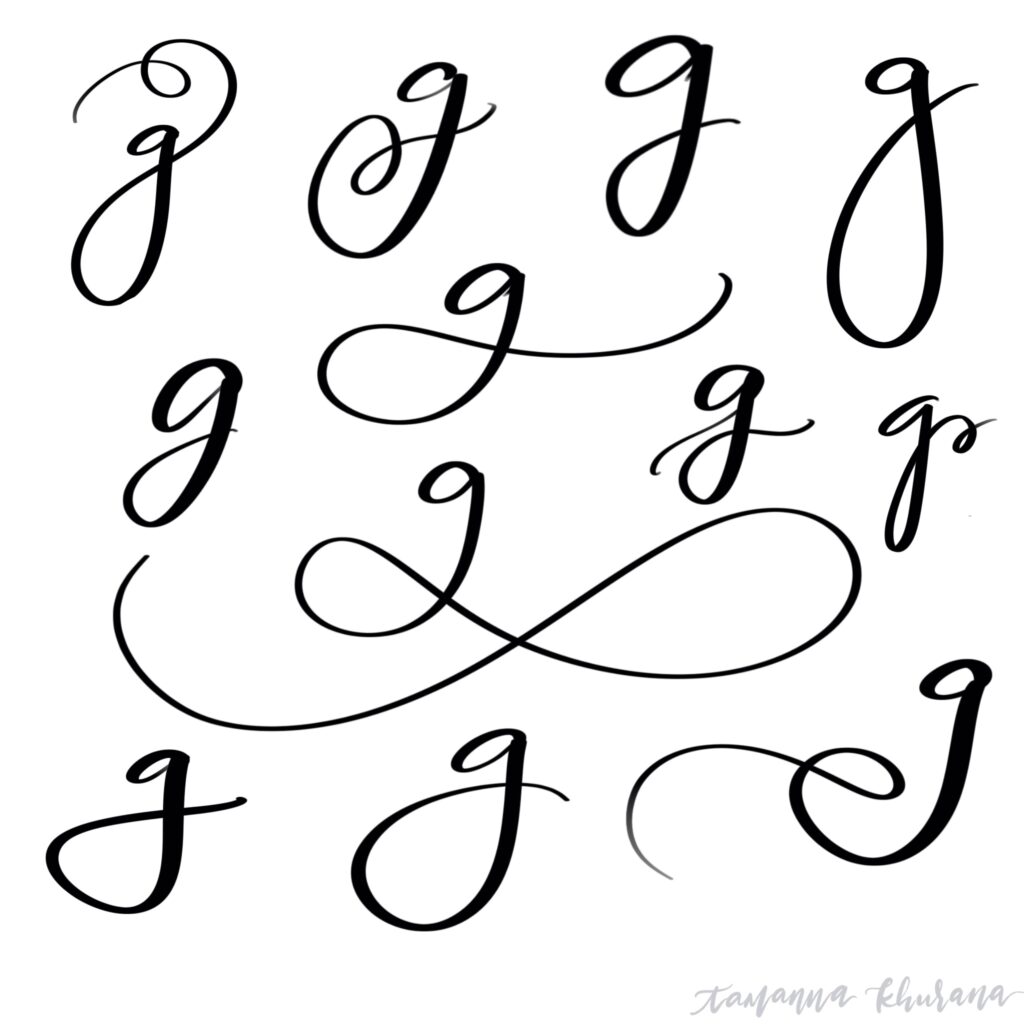
In the midsection of either your word or phrase, there are multiple opportunities to decorate the words being utilized. The most flexible letters to accentuate are (but not limited to): g, y, j, f, n, m, t, and sometimes d, b, x, k, or z. Variations include, looping to underline the word, connecting letters through the t cross, varying the heights of certain letters to create more dimension. This also can play alongside changing the fonts you use (switching between cursive and print) to emphasize certain phrases.
Examples of middle strokes to experiment:
4. Practice Exercises
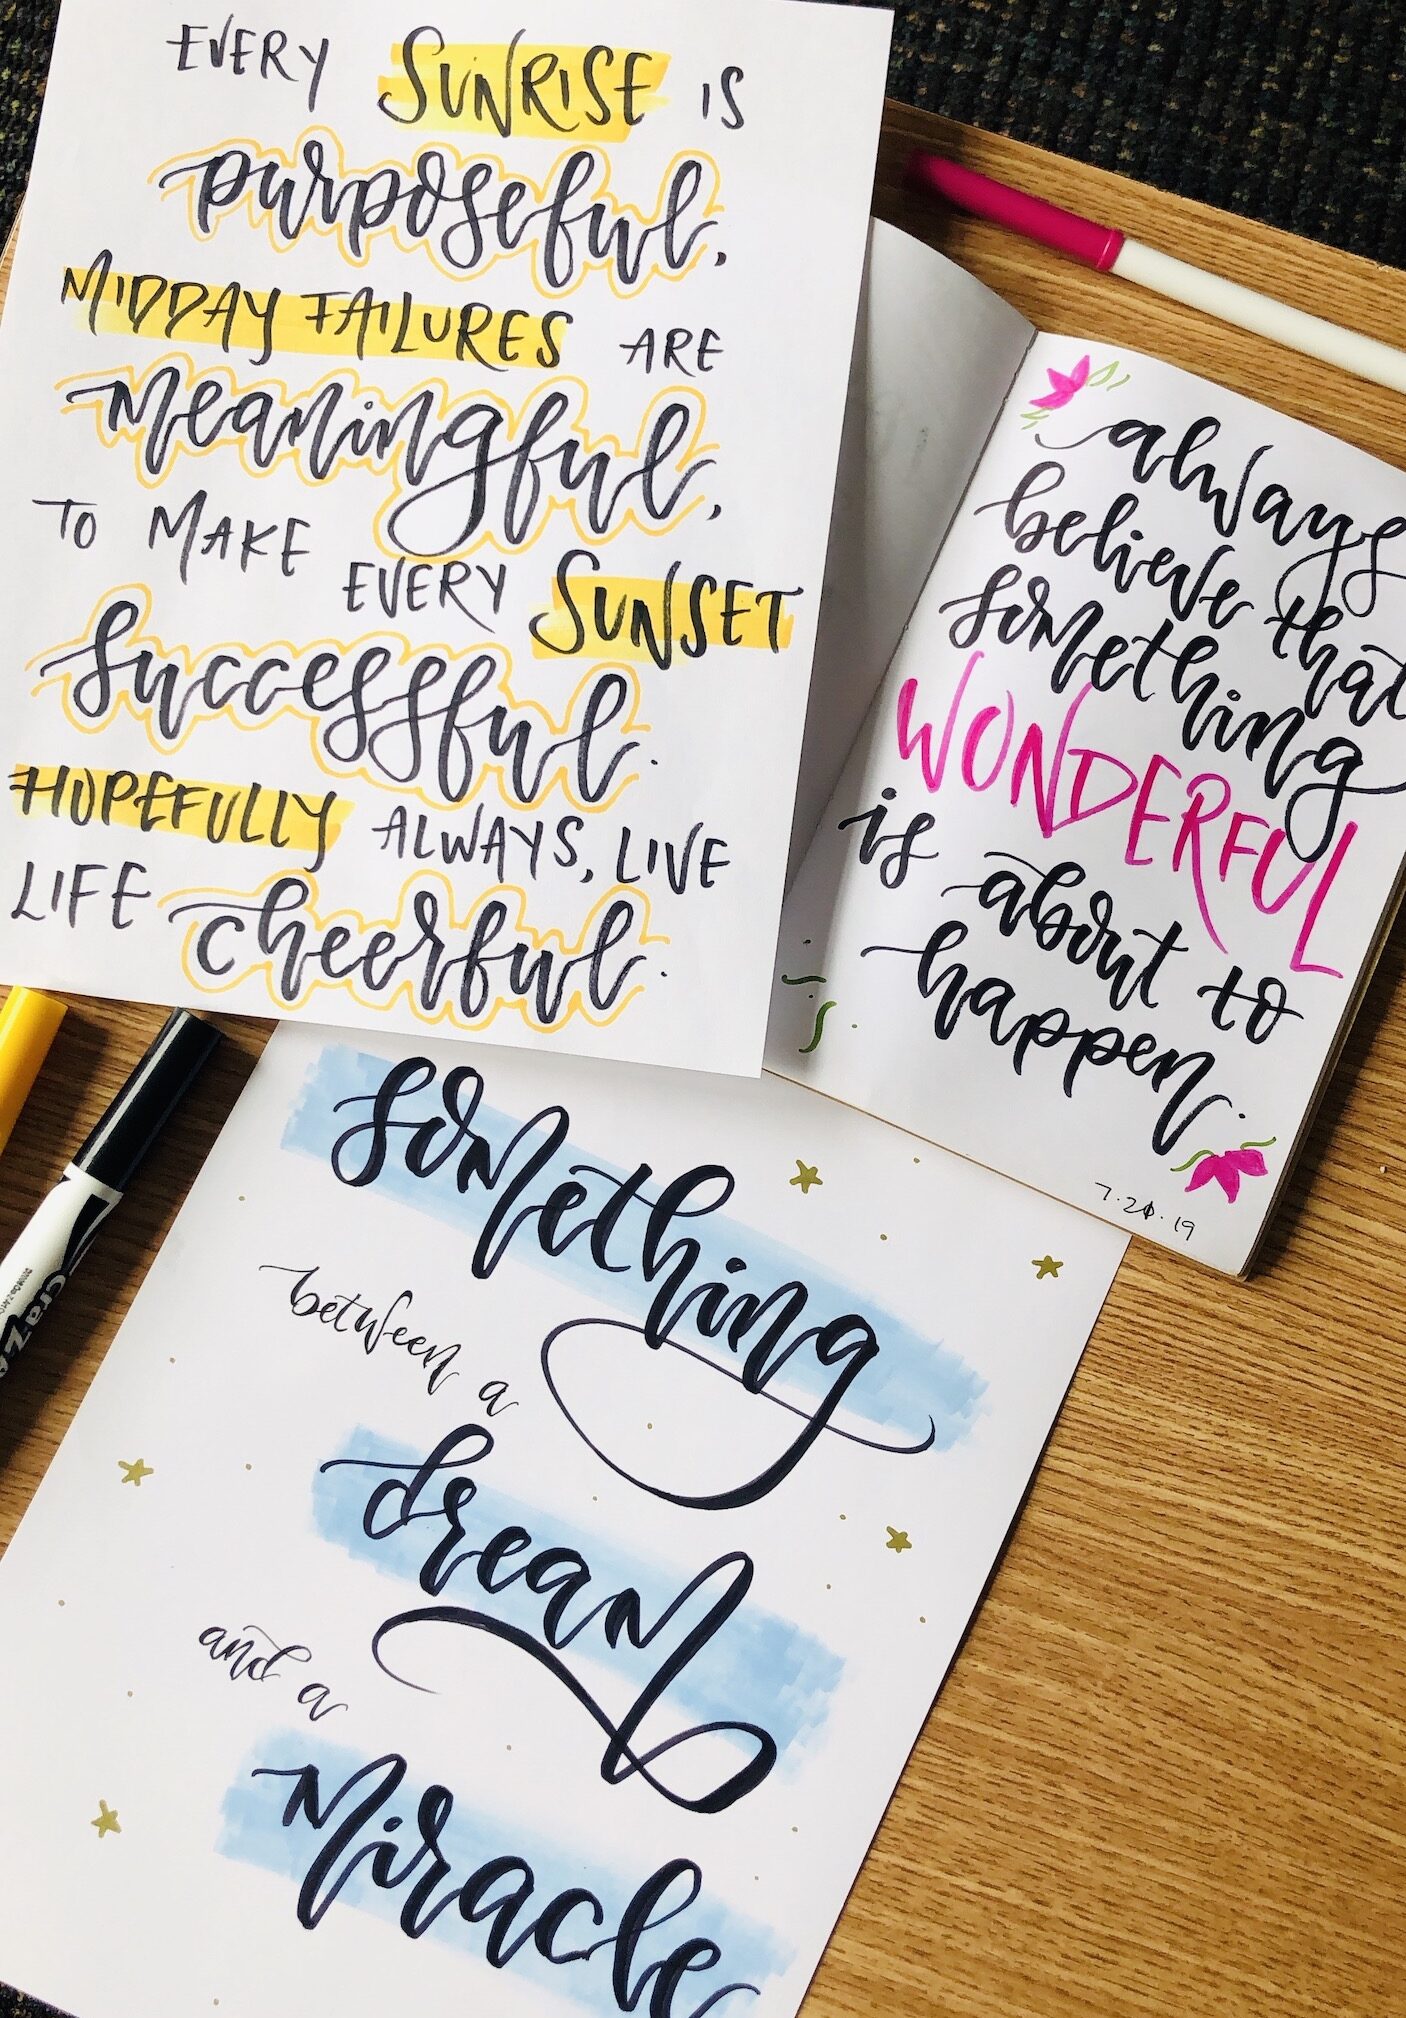
Before narrowing down how you want your unique calligraphy to look, the best way to improve is through practicing and copying examples you find. Every professional starts off by following another person’s style, to ultimately land upon their own. When I first began, I would copy calligraphy quote pieces from online to gain better control of my grip and pressure. As you develop a more steady hand, each stroke will come more naturally.
Grab a list of your favorite quotes, song lyrics, poems, or even just write your name over and over again. You can find calligraphy quote pieces all across Pinterest to print, trace, or simply take inspiration from. PRO TIP: grab a piece of waxpaper or baking sheet from the kitchen to have a more translucent canvas when tracing 🙂
And for more calligraphy art examples and inspiration, explore the art gallery found here!
5. Creating Your Style
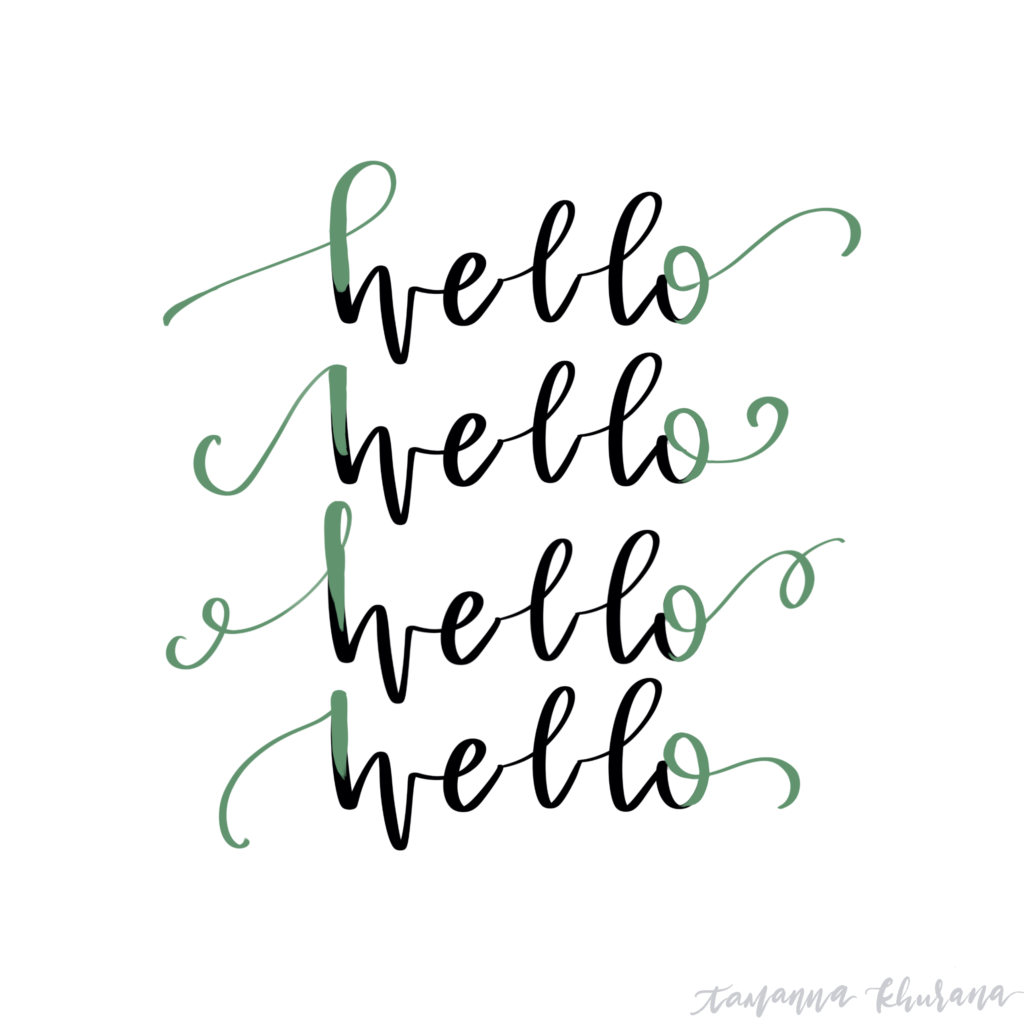
The continuous and most fun part of the process is creating your style. As you’ll find with any utensil or approach you follow, handwriting can be customized with each and every stroke. Whether you enjoy thicker, more looped lettering, or thin and minimal swings, each variation transforms your work.
Don’t forget to also play with different cursive and print font pairings when coming up with your own! Uppercase lettering is also a fun place to get more creative, as you can set the stage for everything that follows.
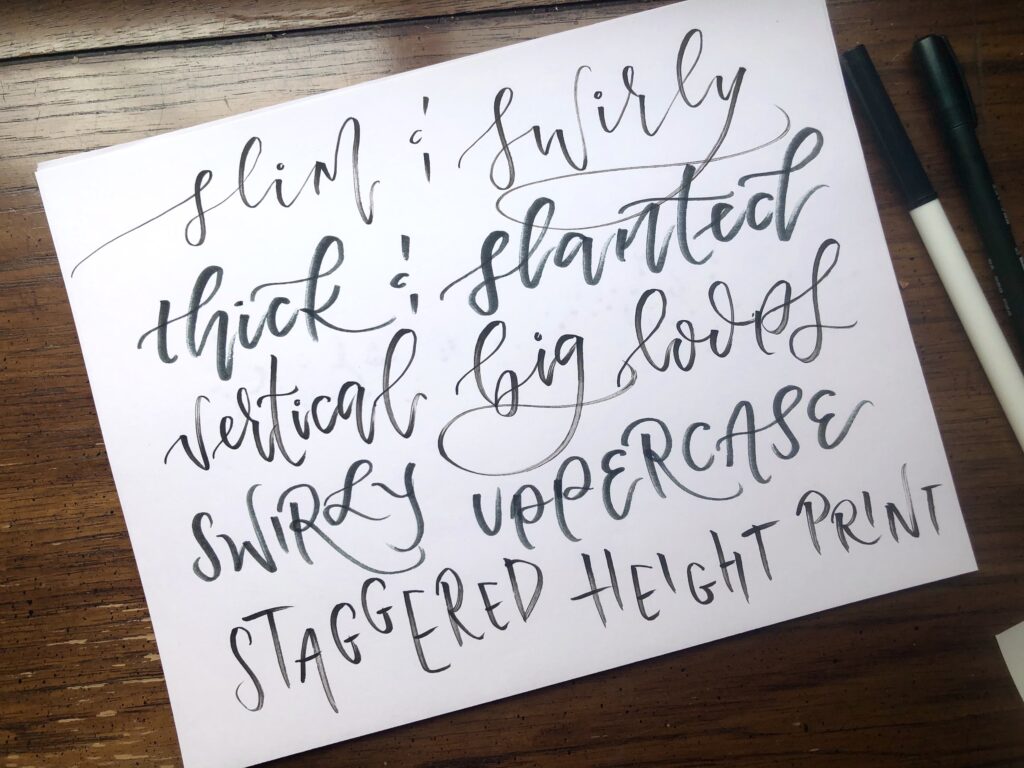
Some of my personal favorite lettering variations to practice:
- Slim & swirly
- Thick & slanted
- Vertical with big loops
- Swirly Uppercase
- Staggered Height Printed Uppercase
Examples of these styles are pictured here:
Taking Calligraphy With You
In conclusion, getting started with calligraphy isn’t something to be intimidated by; it’s an art-form inherent in every person’s writing, that with a little interest and fun practice, can be brought to life in an entirely new way.
And the best part?? Once you feel more confident in your abilities, this talent is a gift you get to share over and over again. In a thank you card to your boss, a birthday sign for your best friend, or in beautifully scripting your little cousin’s name. That’s the magic of handwriting.
Hope you enjoy this guide to beginner calligraphy handwriting! In a future post, we’ll dive deeper into font balancing and quote pieces, digital calligraphy, as well as how to tackle more advanced calligraphy with traditional ink materials. Until then, hope this gets your practice started!
Let me know what you think 🙂
<3 always,
Tam


